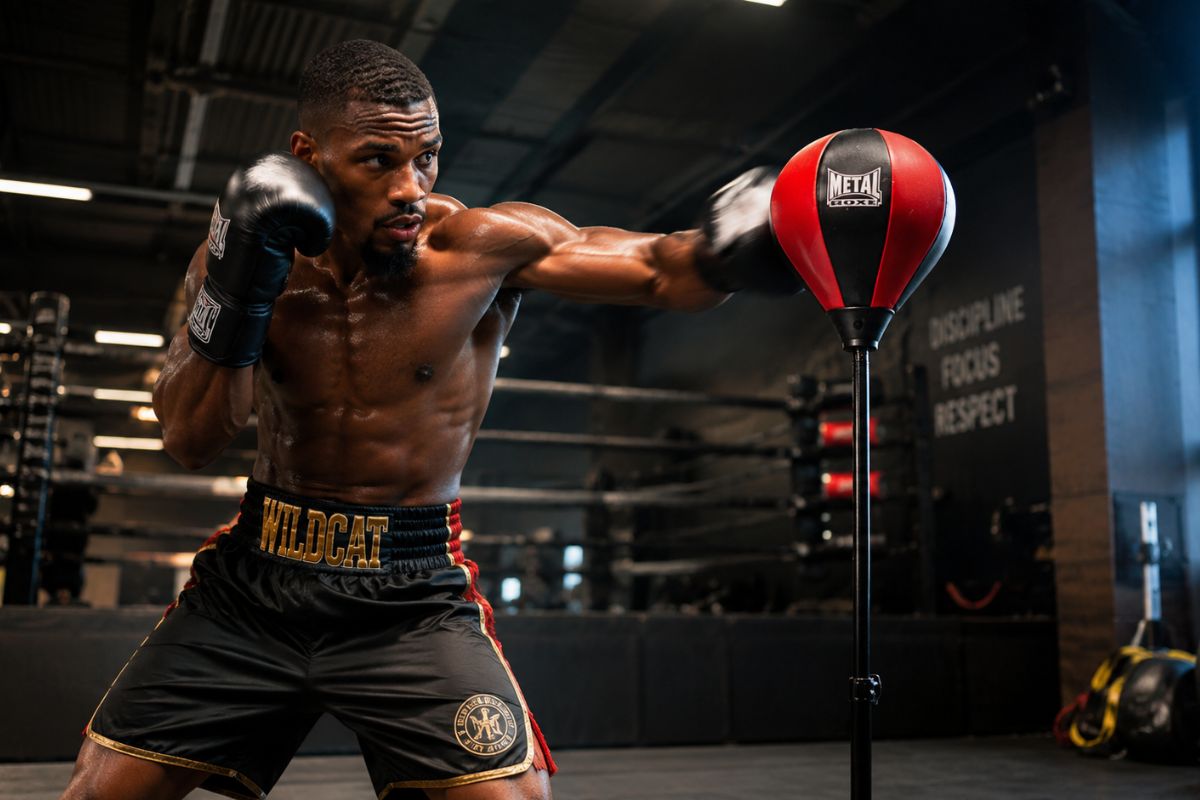
How do you inflate a punching ball?
An under-inflated inflatable punching ball means a failed session before the first punch. Too soft, it collapses under the strike without pushing back. Too hard, it knocks back and turns every punch into a risk for your hands and wrists. Somewhere in between is the sweet spot. The ideal pressure. A way of doing things that makes all the difference. We know this because we have equipped practitioners for years, from the beginner taking their first ball out of the box to the experienced boxer looking to optimize every detail of their home training. This guide covers every step of inflation, the mistakes that cost you dearly, and everything you need to know to make your equipment last.
Inflatable punching ball: understand what you have in your hands
Before taking out the pump, stop for two seconds. An inflatable punching ball is not just a ball. It is a compact, responsive punching bag, designed to develop speed, precision, and reflexes. Its surface sends the punch back. It forces you to reset your hands, maintain your guard, and stay in rhythm. This is precisely what makes it effective for serious coordination work, even at home, without a partner, without a ring.
The vast majority of models are made of PVC or reinforced PU. These materials are flexible, resistant to repeated strikes, and capable of lasting several years if properly maintained. The diameter of a standard boxing inflatable punching ball is between 25 and 35 cm for stand-mounted models, and between 20 and 30 cm for hanging versions. This detail is not insignificant: it directly determines the trajectory of the punches, the speed of the ball's return, and the actual difficulty of the exercise. A small diameter demands precision. A more generous diameter forgives technical errors and is well suited to beginners building their first fundamentals.
Some models work with air only. Others allow you to combine air and water inside to adjust the weight and resistance as you progress. This feature is particularly useful: you start light, add weight as your level increases, without having to buy new equipment. Whatever your practice, read the instructions before doing anything. There is no question of improvising. Each model has its pressure limits, storage recommendations, and technical specifications. Ignoring them means taking an unnecessary risk with the product's lifespan from day one.
The equipment for inflating a punching ball: what you really need
No need for an arsenal. A classic air pump is enough. What makes the difference is the inflation needle. This small piece is too often neglected, relegated to the bottom of the box without any attention paid to it. Yet, it is what ensures the seal, protects the valve, and determines the quality of the inflation over time. An needle incompatible with your ball's valve, and a leak is guaranteed from the first uses. There is no question of letting this detail ruin the equipment.
On most models, the valve is a sports type, identical to that of a football. A standard inflation needle is therefore suitable in most cases. Still, check the compatibility before buying if the pump is not supplied with the ball. As for the air pump, a double-action pump is the best technique: it pumps on both the push and pull, halves the inflation time, and reduces unnecessary fatigue. An electric pump with adjustable pressure also works very well, provided you stay within the limits indicated in the instructions. Some deliveries include a pump designed specifically for the model. If that is your case, use it. It is calibrated for that.
- A manual or electric air pump
- An inflation needle compatible with the valve
- A damp cloth to clean the valve before insertion
- Soapy water to detect leaks after inflation
- A pressure gauge (optional, useful for regular practitioners who want a precise reference)
How to inflate a punching ball: the steps in order
Inflating a punching ball follows a precise logic. It is not a question of strength or speed, it is a question of method. Each step has its role. Skipping them means risking damaging the equipment before the first session or ending up with a ball that deflates after a few punches. We detail everything for you, in order.
Prepare the valve. Always.
The valve is the most stressed part during every inflation. Before inserting the needle, wipe the area with a damp cloth to remove dust and residue. A clean valve means a better seal and less risk of a micro-leak. Slightly moisten the needle with a few drops of soapy water before inserting it. This gesture reduces friction, makes insertion easier, and protects the valve from premature wear. It is a simple tip that many skip on the first use. Those who follow it from the start preserve their equipment much better over time. It is not a detail: it is the foundation.
Inflate in sequences. Not all at once.
Inflating all at once, to the max, without stopping. That is the classic mistake. The material of the inflatable bag needs to stretch gradually to distribute evenly over the entire surface. Proceed in sequences of 10 to 15 pump strokes, then check the firmness by hand. The surface must be firm and responsive, without being rigid. When you press with your thumb, there should be clear resistance. Not hard as a rock. Not soft as a sponge. This tactile reference is your best indicator, much more reliable than a number in the instructions.
The basic rule remains the same on all models: a properly inflated inflatable punching ball bounces back after a hard strike, returns quickly, and does not permanently deform under the impact. If the surface sinks and takes a long time to return, it lacks air. If the ball bounces back brutally and uncontrollably, you have exceeded the limit. Deflate slightly and start over.
Adapt the inflation to what you want to work on
The optimal inflation level depends directly on your use. For precision and speed work (fast jabs, chained combinations), inflating to 80-85% of maximum capacity is the best technique. The ball remains responsive, the returns are sharp, and the risk of wrist injury is limited. For strength and power work, go up to 90-95%. Beyond that, the surface becomes too rigid and every punch without suitable boxing gloves can cause serious damage to the joints.
For children or beginners in the discovery phase, stay below 80%. A slightly softer ball is more accessible, more forgiving of technical errors, and more effective for building the right reflexes without generating discouragement from the first sessions. The choice of inflation level is the choice of the training you want to do. It is not a secondary step that you set randomly.
Install the ball correctly: height and space are non-negotiable
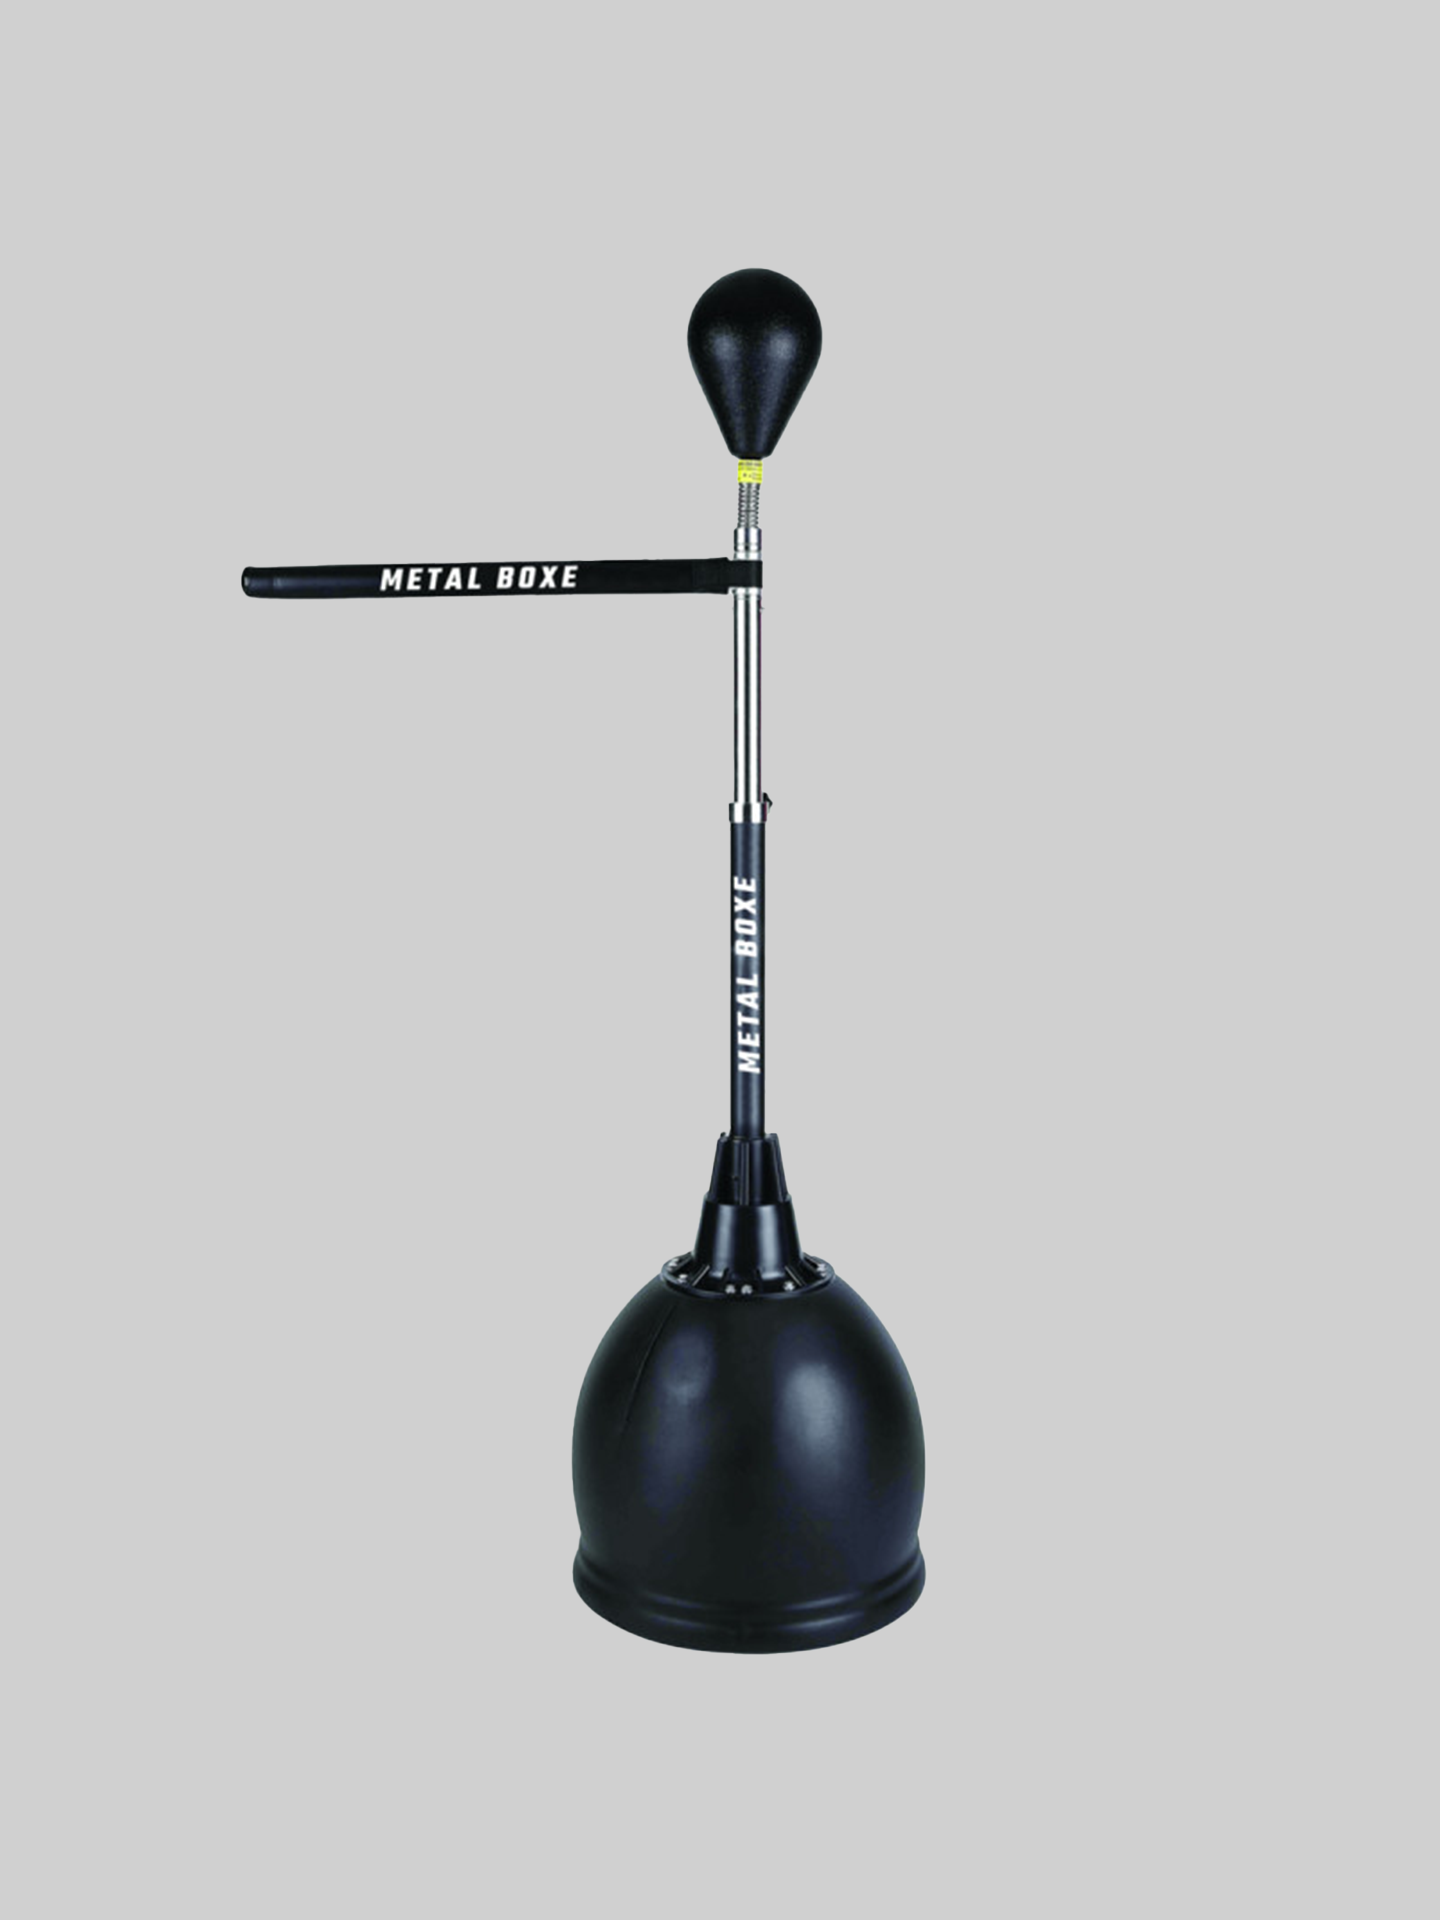
A well-inflated ball but poorly installed. There is no question of settling for that. For stand-mounted models, the base must be sufficiently weighted (water or sand depending on the model) to absorb impacts without tipping over with every hard punch. The height of the ball must match your physique: aligned with the chin or nose for standing work in classic boxing. Set the pole before the session. Not in the middle of it. This adjustment determines the entire quality of the technical work that follows.
For hanging models, fix the support to a solid anchor point, designed to withstand repeated and vigorous movements. A shaky fixation generates irregular oscillations that break the rhythm, disrupt precision, and increase the risk of an ill-adjusted punch. The space around the ball matters as much as the inflation itself. Allow at least one meter of clearance on each side to work lateral movements. A ball installed too close to a wall imposes constraints that limit the value of the exercise and increase the risk of injury to surrounding objects. At home or in the club: stable floor, clear space, nothing lying around. It is a commitment to your own safety.
Check the punching ball once inflated: the signs that do not lie
Two minutes of inspection before striking. Nothing more. Run your palm over the entire surface of the ball looking for soft or irregular areas. Apply soapy water to the valve and check if bubbles appear. Bubbles indicate a leak. Often a needle poorly removed, sometimes a slightly damaged valve. In this case: deflate, reposition the needle correctly, reinflate while checking the seal at each step.
Also check the overall shape of the inflatable punching ball. A properly inflated ball is perfectly spherical (or ovoid depending on the model). A visible deformation indicates either uneven inflation or structural damage to the material. Repair is sometimes possible with a patch kit suitable for PVC. But there is a limit to repair: a ball whose internal structure is compromised will never regain its original shape or its ability to safely withstand strikes. At this stage, replacement is the only serious decision. Continuing to strike it means taking a real risk for your hands and wrists. No question.
Maintenance and storage: what makes a ball last
Inflating a punching ball correctly is good. Maintaining it properly is what makes the difference between equipment that lasts two years and equipment that shows its limits in a few months. After each session, wipe the surface with a slightly damp cloth. Sweat is acidic. Left on the PVC, it accelerates the aging of the material and eventually causes cracks that compromise the structure of the ball. This gesture takes thirty seconds. There is no reason to avoid it.
For storage, keep the ball away from heat sources and direct sunlight. Heat expands the air inside and can irreversibly deform the walls. If you need to store the ball for several weeks without using it, partially deflate it (about 50%) before storing it. This precaution reduces the pressure exerted on the walls and significantly extends the lifespan of the ball. It can never be said enough: well-maintained equipment is equipment that performs session after session, without bad surprises, without premature replacement. The choice of maintenance is also the choice not to buy unnecessarily.
Inflating your punching ball at home: why it really makes all the difference
Before the sound of the gloves. Before the sweat of the session. Before the first combination. There is that moment when you take the ball out of its packaging, take out the pump, and realize that home training is finally possible without compromise. It is one of the great advantages of the inflatable punching ball compared to a classic punching bag: its ease of setup. No heavy wall mounting, no structure to reinforce, no permanent dedicated space. You inflate, you strike, you deflate, you store. This cycle makes this type of equipment particularly accessible for those who live in apartments or lack space to practice boxing at home.
Accessibility is also financial. A quality boxing inflatable punching ball remains well below the budget required to equip yourself with a stand-mounted or hanging punching bag. To start, work on your physical condition, improve your reflexes, or maintain your level between two club sessions, it is a risk-free entry into boxing. With a solid basic technique and the right protective equipment, the inflatable punching ball is a fearsomely effective training tool. It develops coordination, reaction speed, strike precision, and that self-confidence that comes naturally when you feel your progress session after session. It is not a substitute for club work. But to complement sessions or maintain your level, there is nothing better at this price.
The mistakes that damage a ball prematurely: what we see too often
Inflating without a suitable needle. This is mistake number one. A needle that is too large deteriorates the valve from the first use. A needle that is too thin does not insert correctly and generates immediate leaks. Check the compatibility before buying if the pump is not supplied with the ball. This detail determines the entire lifespan of your equipment. There is no question of neglecting it.
Ignoring the instructions. Each model has its own pressure limits. Exceeding them means risking tearing the material, damaging the valve, or creating internal damage that will not be covered by the warranty. The instructions are there for a precise reason. Reading them takes two minutes and can prevent having to buy a new ball after three sessions.
Striking without protection. Even in the context of light home training, wear at minimum boxing gloves or hand wraps. The joints of the fingers and wrists are not designed to withstand repeated strikes on a firm surface without protection. Hand safety is the foundation. It is not an option you activate when it suits you. Striking barehanded on a well-inflated ball is the best way to end up with an injury that interrupts training for several weeks. And that is the worst waste of time there is.